
4 min read
Product Update, May 2023
In May, Precoro made improvements to user revision history, design, NetSuite supplier mapping, and more.
Improved user revision history
We’ve enhanced the Revision History function on the User Management page. Now you can keep a more detailed record of changes made to user profiles, ensuring accountability and security within your organization.
In the Main Info section, we have added a new Active field that shows whether a user is currently activated for your company. Also, you now have the ability to see the Substitute User selected for a deactivated user, along with their corresponding email address.
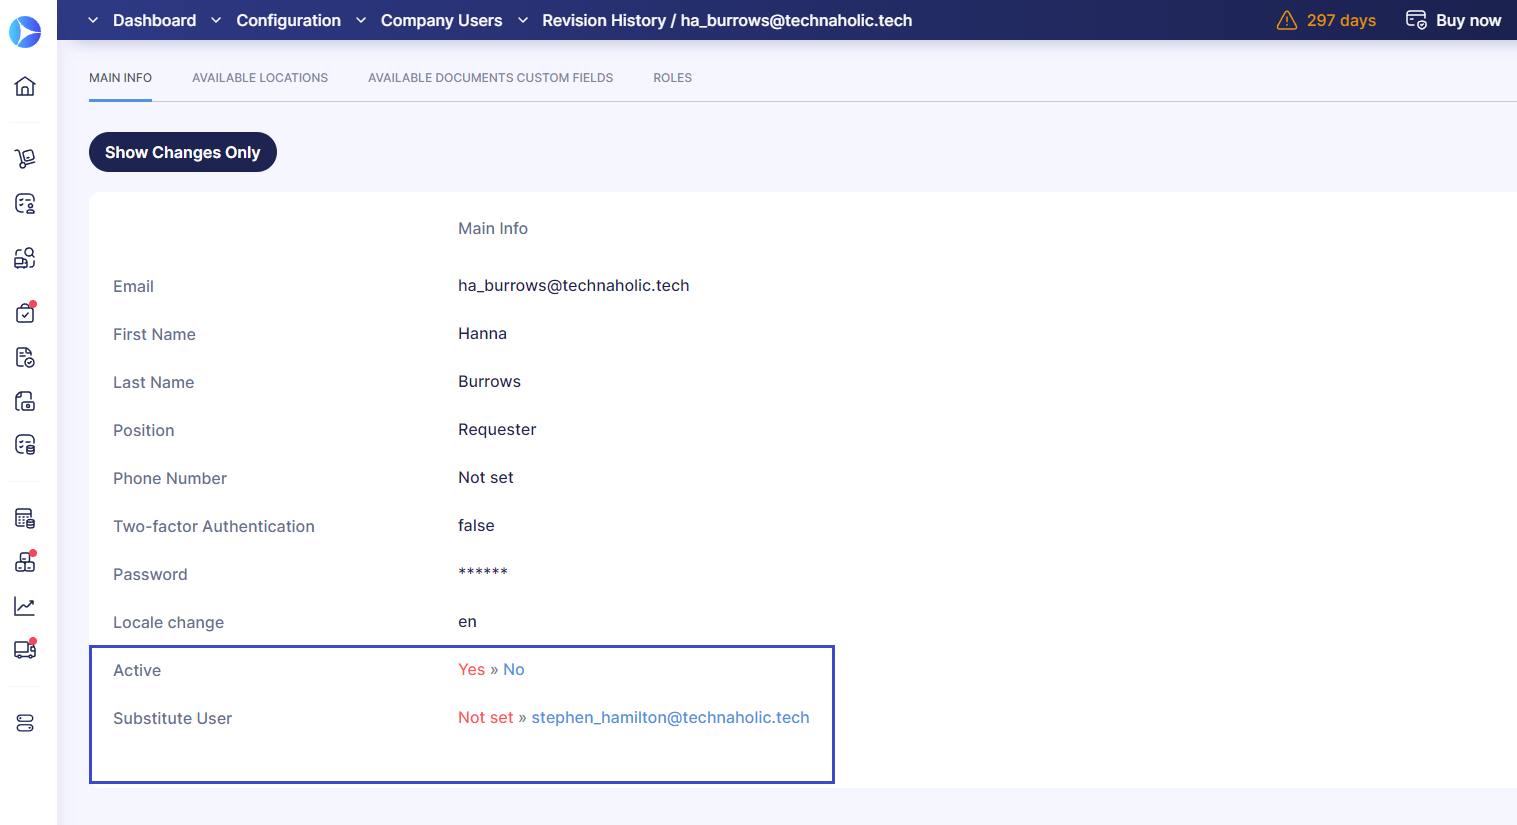
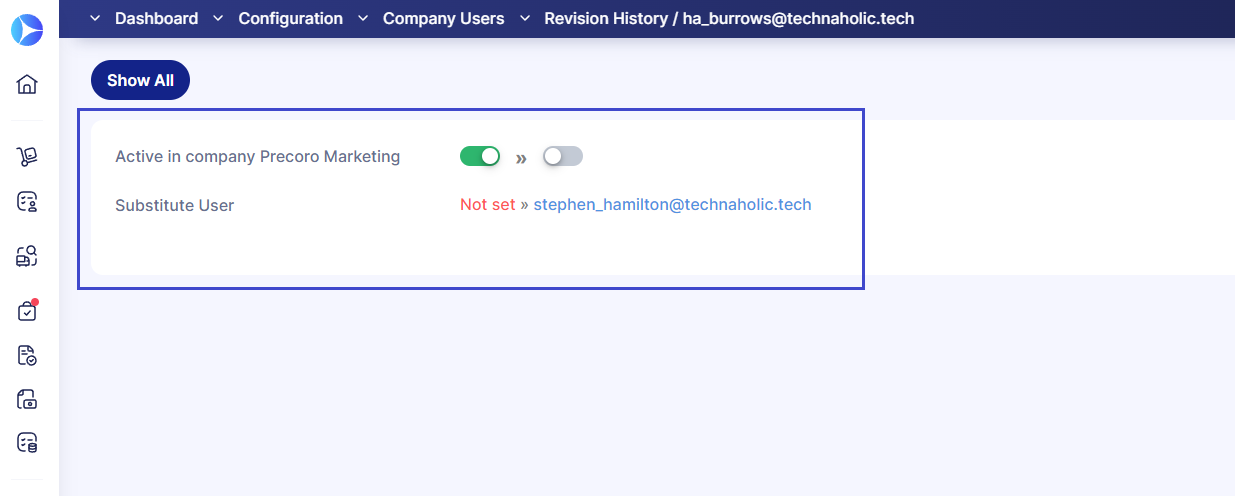
Furthermore, by clicking the Show Changes Only button, you will be able to see the toggles indicating whether a user was activated or deactivated. A green toggle represents an active status, while a gray toggle indicates a deactivated status.
To see the revision history, follow these steps:
- Navigate to the User Management page and find the user profile for which you want to track changes.
- Click the Revision History button located next to the user's profile.
- To compare two revisions, mark them and press the Compare Revisions button at the bottom.
📖 Follow this link to our Knowledge Base for more instructions on using Revision History.
Added charts of accounts codes to import pages
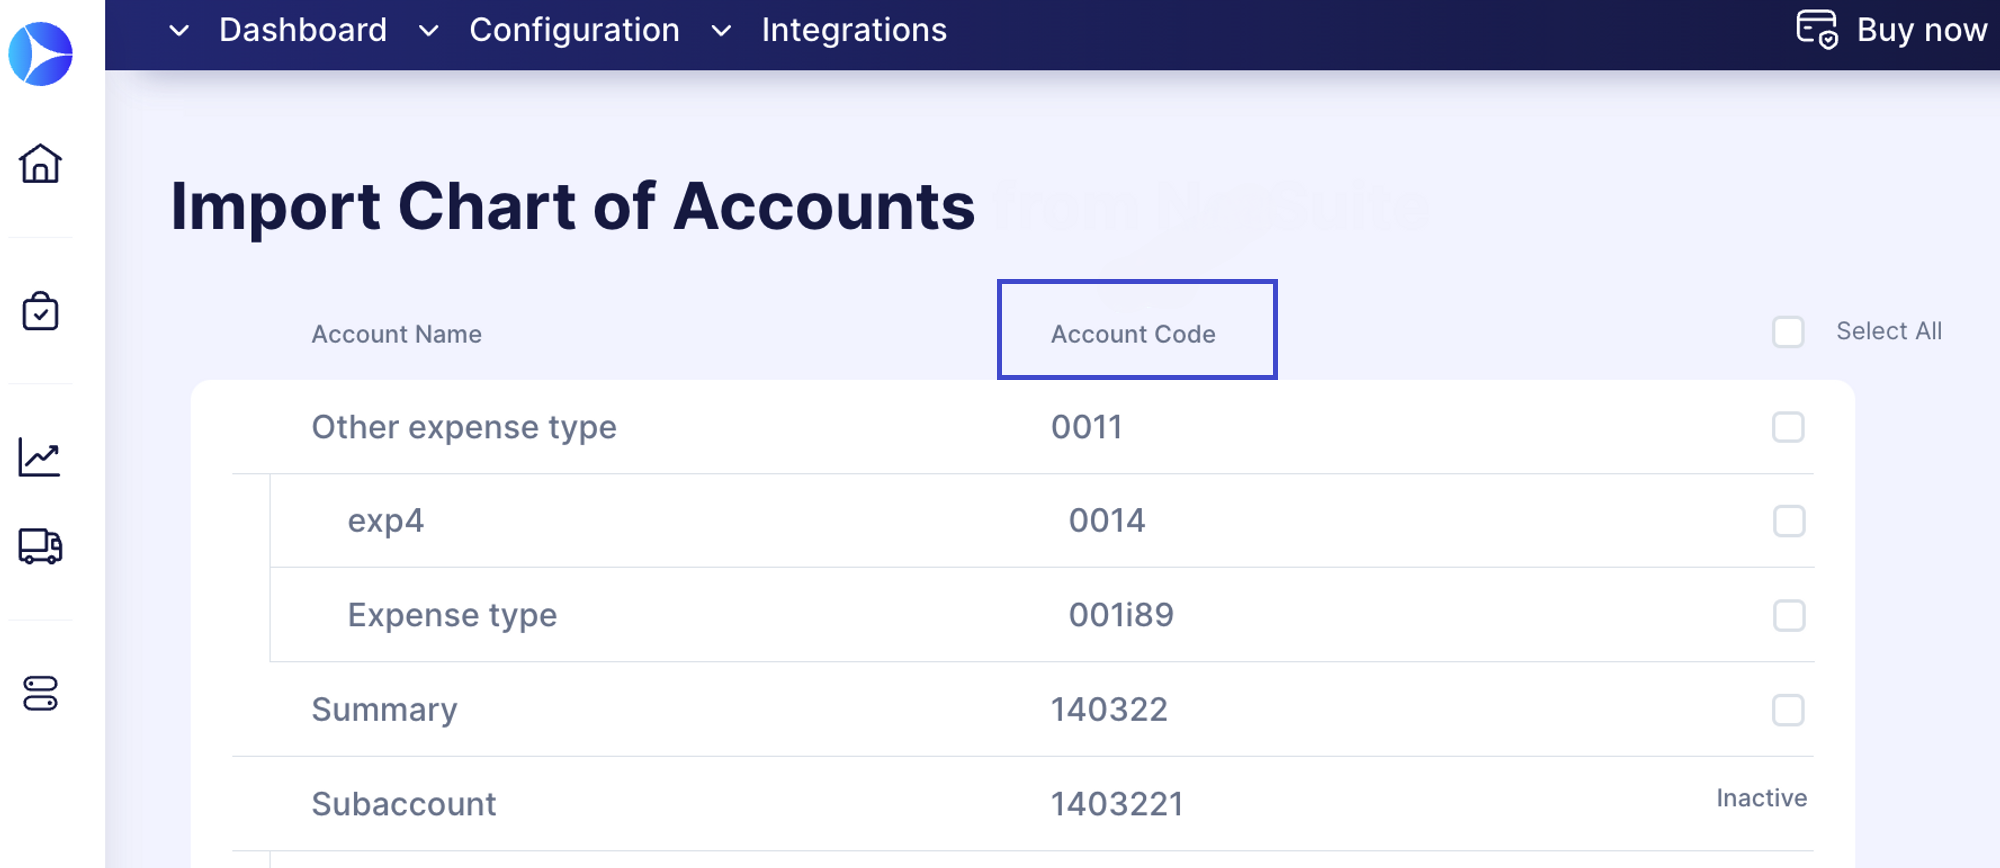
When importing the charts of accounts from Netsuite and QuickBooks into Precoro, you will now see not only their field names but also their codes. This improvement will help you handle large imports more efficiently, especially when the account names in Precoro differ from those in NetSuite or QuickBooks.
💡 To ensure the smooth import of a chart of accounts from QuickBooks, please make sure to activate the Account Numbers fields in QuickBooks. If these fields are deactivated, the account number column will not be displayed on the Precoro import pages.
To import charts of accounts, please follow these steps:
- Open the Integrations page in Precoro.
- Select the Import Chart of Accounts option.
📖For more detailed instructions on adding account codes to the chart of accounts field in Precoro, please refer to our article here.
New mapping for the NetSuite Individual supplier type
We have improved the mapping process for the NetSuite Individual supplier type to enhance data accuracy and consistency. Previously, the Company Name field in NetSuite was used for both Company and Individual supplier names, while the First Name and Last Name fields were only applicable to Individual suppliers.
To address this, we have implemented changes in the data import process. When importing the NetSuite Individual supplier into Precoro, we now extract the first and last name values from NetSuite instead of relying on the Company Name field. These extracted names will be inserted into Precoro's Company Name field.
💡 Please note that during the mapping process initiated after a supplier is created in Precoro on the Supplier Management page, we will continue to retrieve values from the Company Name field in NetSuite. These values will then be inserted into the corresponding Precoro's Company Name field, without considering the first and last names from NetSuite fields.
New Fast Filters panel
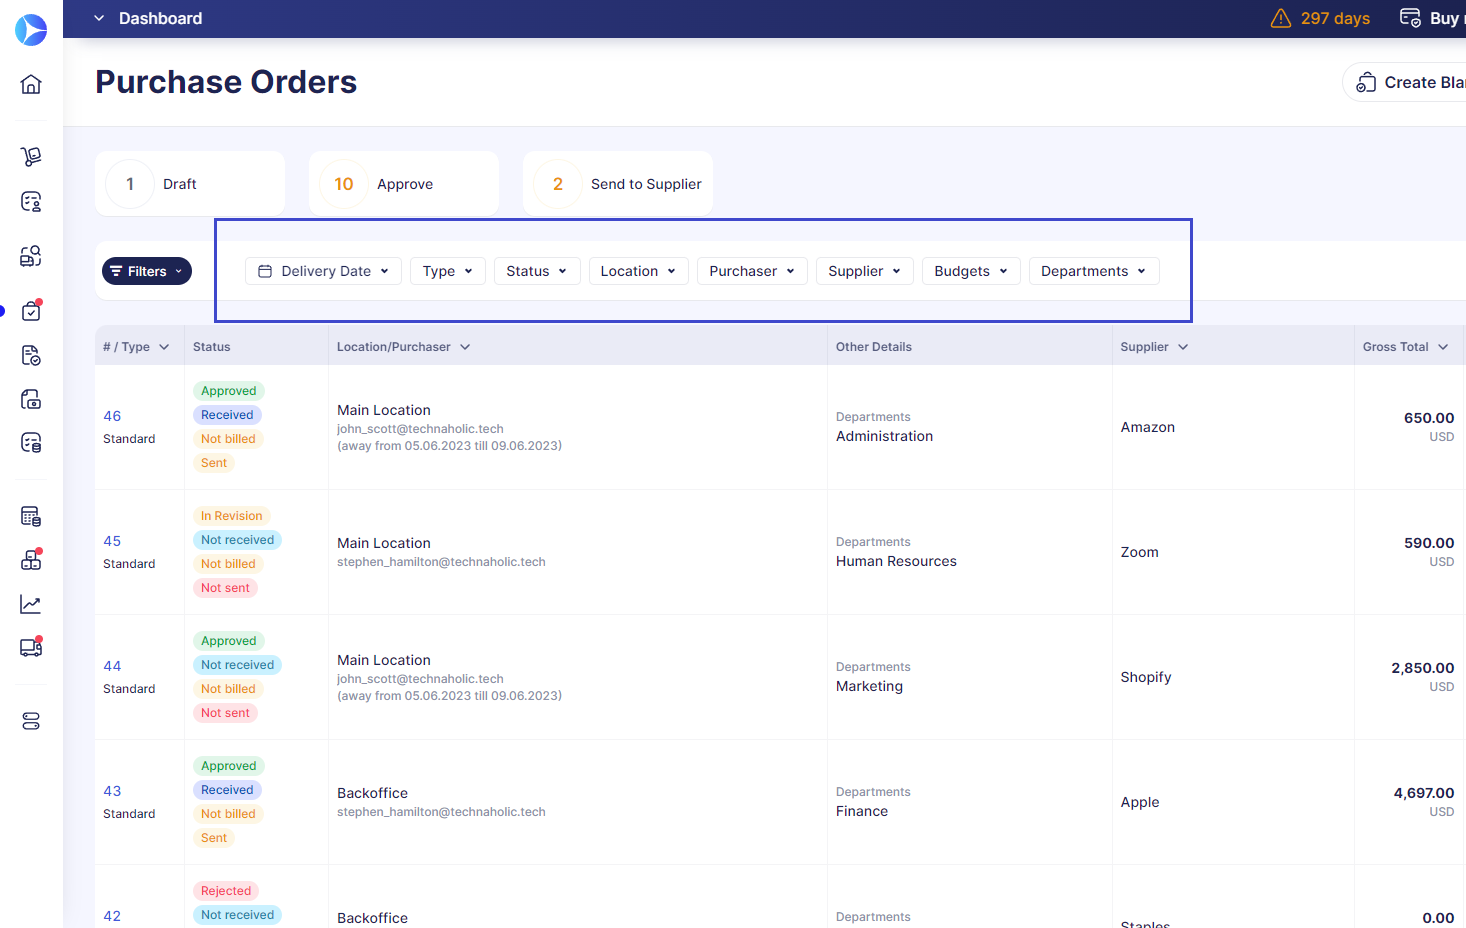
With this latest update, we have made it even easier for you to find the information you need across all of Precoro's document pages. Now you don't have to navigate through an advanced set of filters. Our new Fast Filters panel offers a quick and convenient way to access the most usable filters.
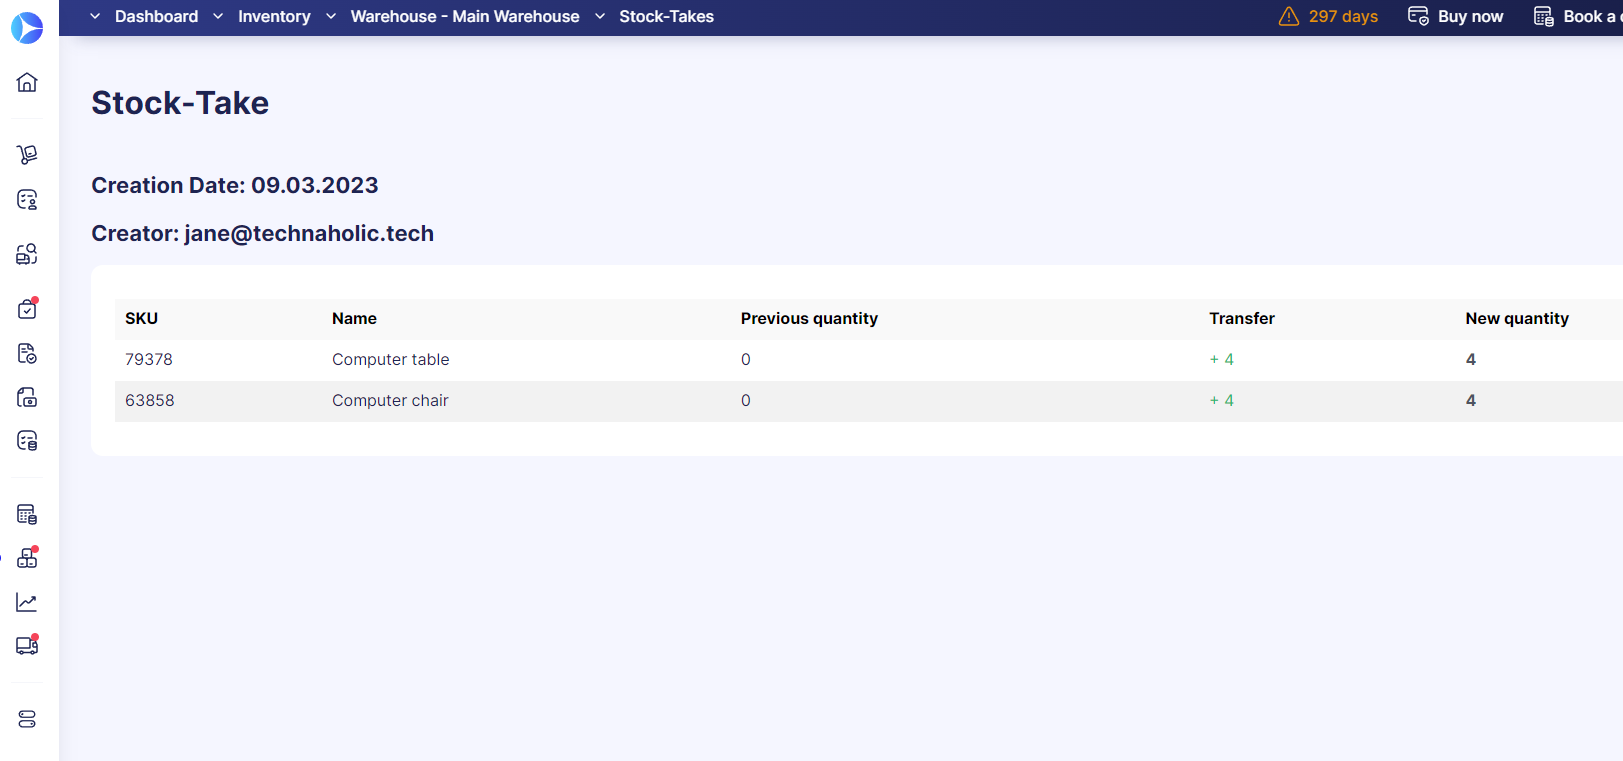
Better usability for stock-taking
We made it easier to track important information related to stock-taking. With this update, we have made these details visible in the stock-taking history:
- Creation Date: Keep track of when the stocktake was created.
- Creator: Identify the person responsible for generating the stocktake document.
- Item Information: Obtain comprehensive insights into each item by viewing their SKU, Name, Transfer Amount, Previous Quantity, and New Quantity.
To access the Stock Taking history, follow these steps:
- Open the Inventory page and select a warehouse;
- Click the Stock Taking History button on the right and press on a stoke-take number. Once done, you’ll be redirected to the Stock-Take history page.
📖 To learn how to add a stock balance in Precoro, please visit this link.
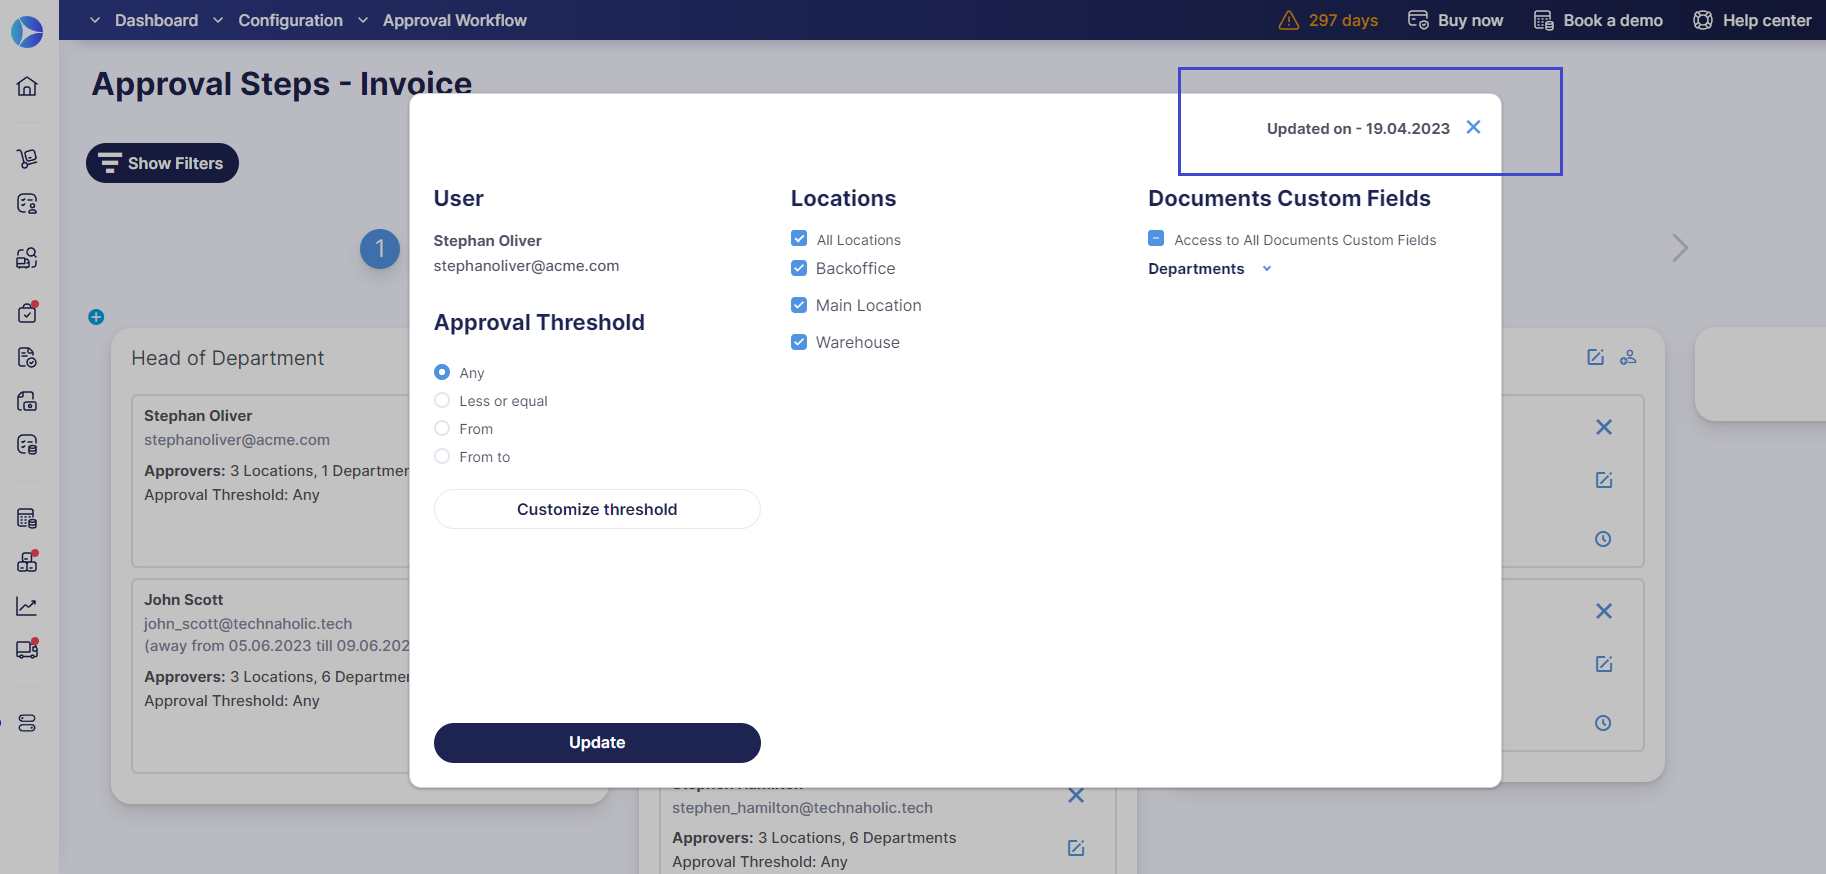
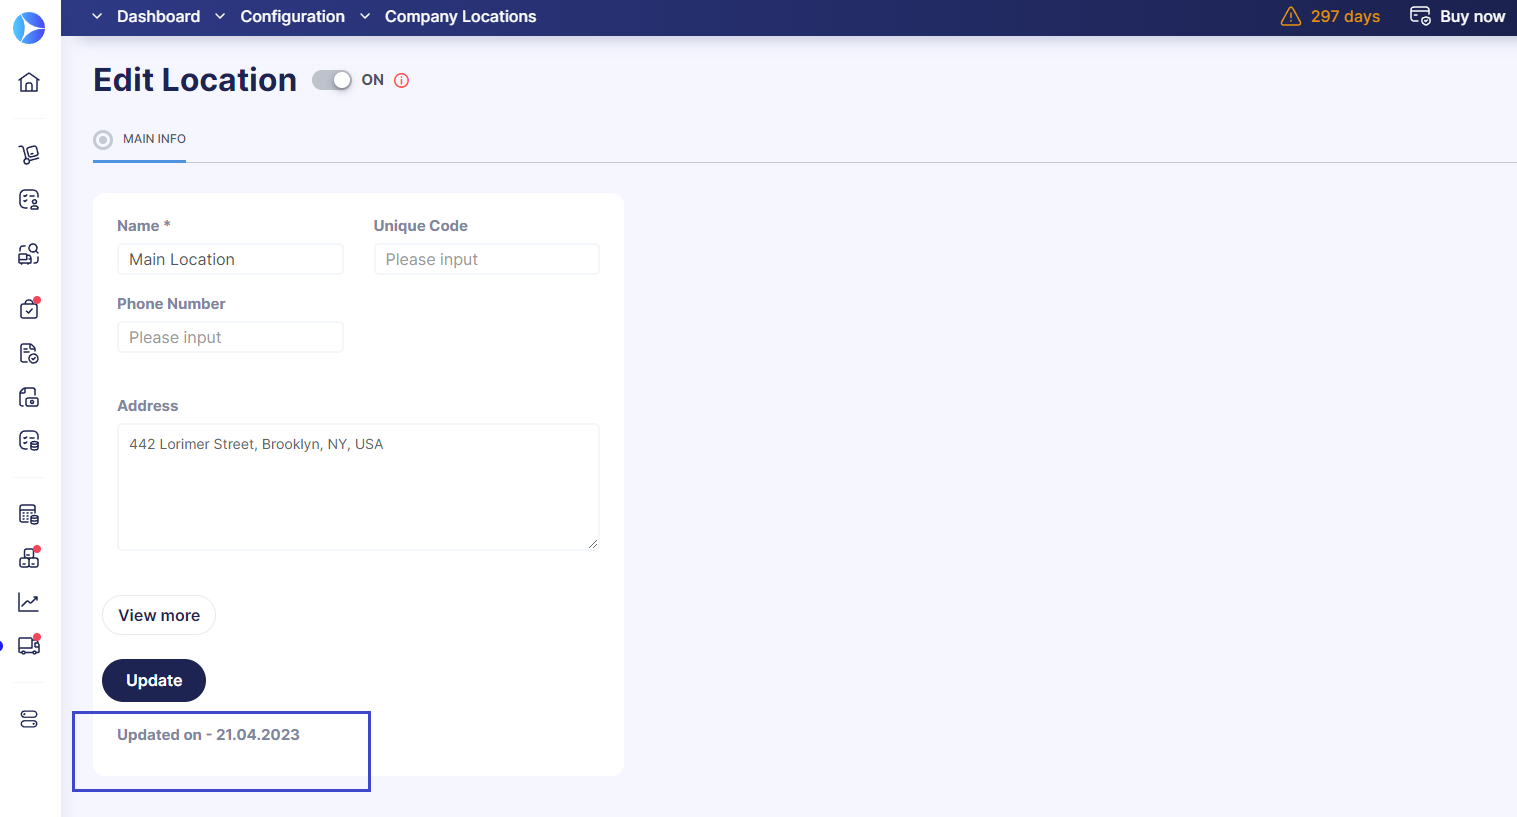
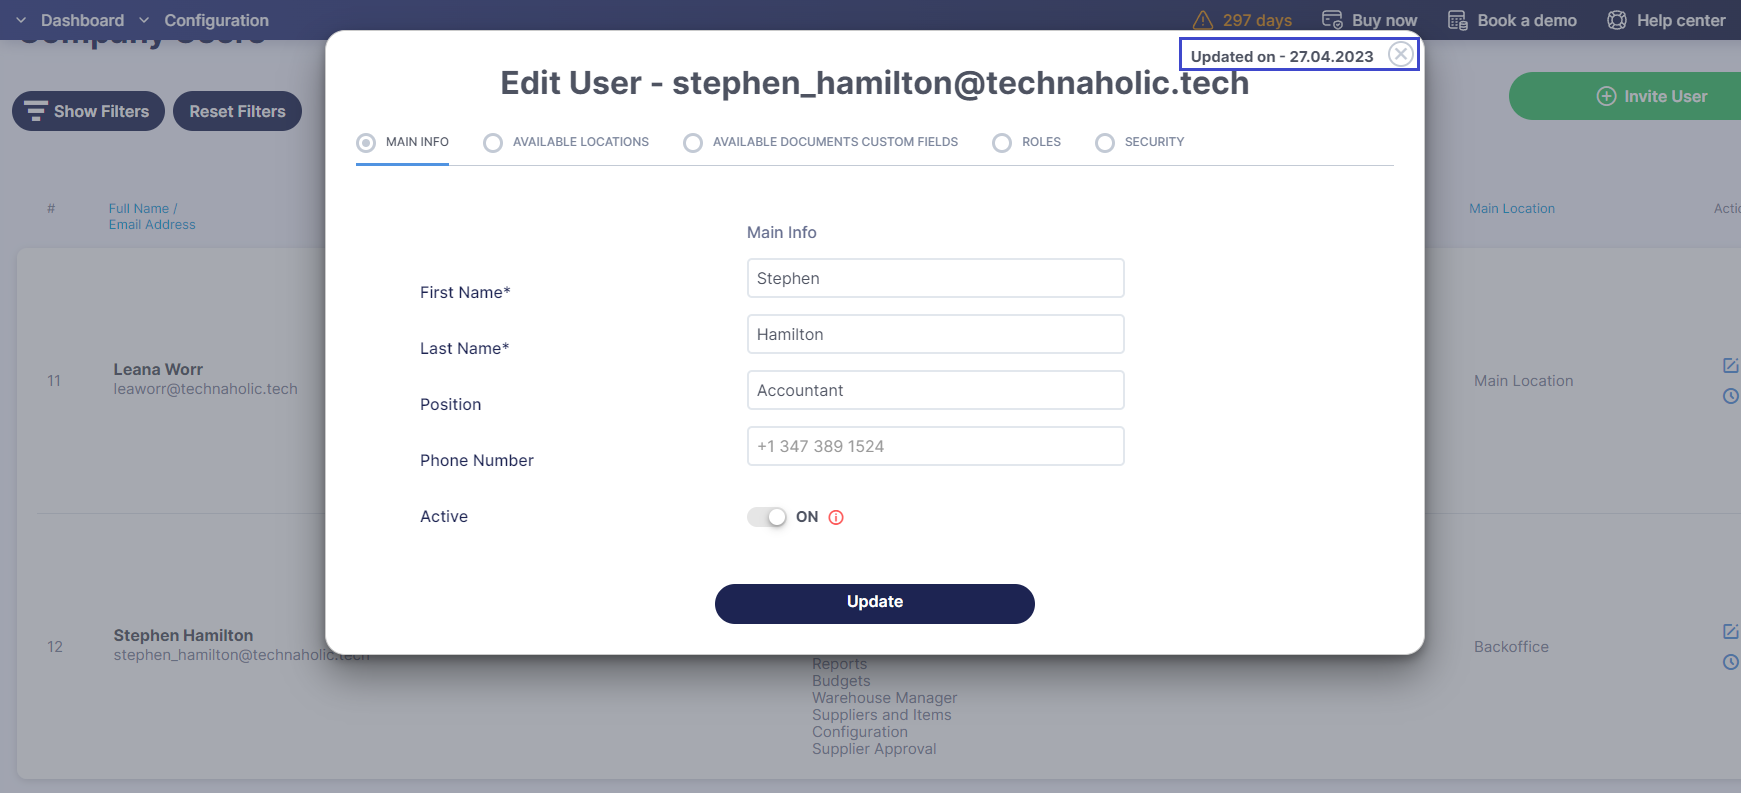
Added Last Update dates
Certain pages now display when they were last updated. The following pages are now marked at the top right with the date they were last edited:
- On the Approval Workflow page, specifically within the tabs for editing approvers
- On the page where you edit your company location
- On the Edit User page
💡 The date format will align with the one selected in the Basic Settings → Misc section.
That concludes our latest update, but we want to assure you that there is much more in store for the future. Stay tuned 🚀


